How to Create images With Transparent Backgrounds
When you want a clean and professional logo, icons for a website, or a product photo that seamlessly blends into your website, a transparent background is essential. So, it’s important to know how to create and save images with transparent backgrounds.
You can do this manually while creating a new image or by removing the background from an existing image using an online tool like QuillBot’s free background remover. This guide outlines how to do both.
How to create and save images with transparent backgrounds
When you create an image with a transparent background, transparency needs to be defined early in the process—not added afterward. To do so, follow these three steps.
1. Set background as transparent
Begin by opening a new file in your photo editing software and selecting transparency as the background type. Most editing programs display transparency as a gray-and-white checkerboard. If you see a white canvas, adjust the document settings so you’re not accidentally designing over an opaque layer.
2. Create your image using layers
Use separate layers for shapes, text, and graphic elements. This keeps edges clean and makes adjustments possible later. Working in layers also prevents flattening errors, which can introduce unwanted background colors.
3. Export in a format compatible with transparency
When you export your final image, you have to choose a file format that supports transparent backgrounds. If you export as JPEG, for example, transparency will be automatically replaced with white. Use PNG, SVG, WEBP, or GIF for proper transparency support.
Using a background remover tool to get a transparent background
If your image already exists and you simply need the background removed, an online tool—like QuillBot’s free background remover—is faster and simpler than manual editing.
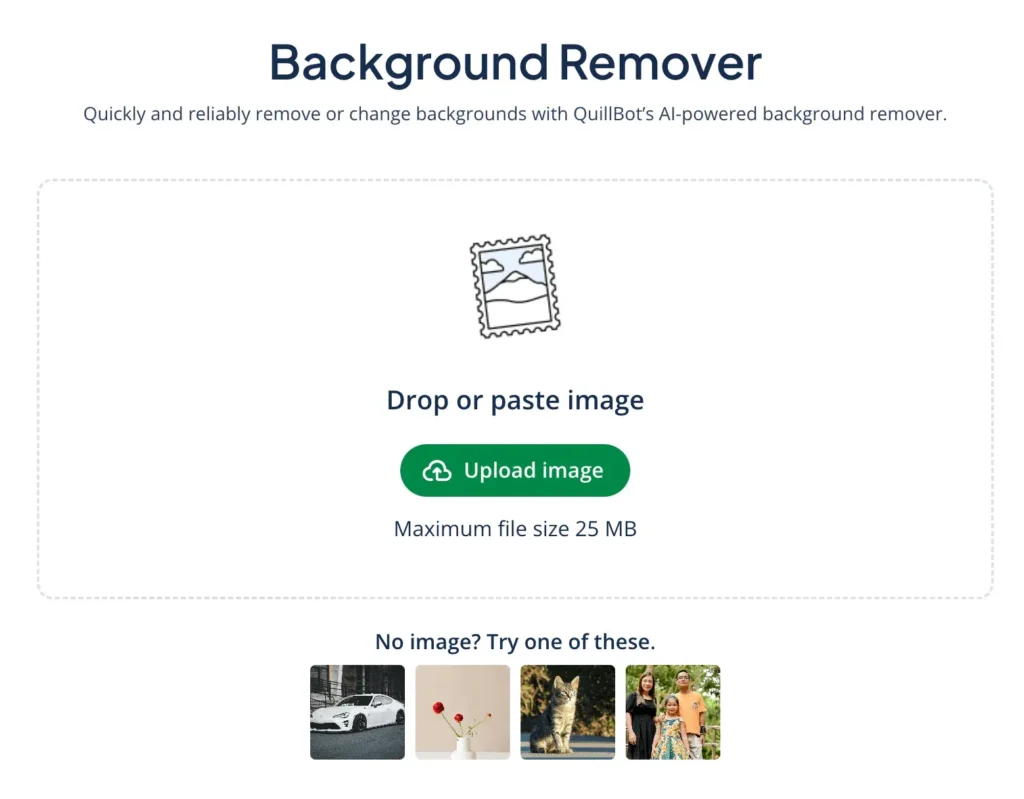
1. Upload your image
Open the online tool and upload your file. Higher-resolution files usually produce cleaner edge detection. Supported file formats include JPEG, PNG, and others.

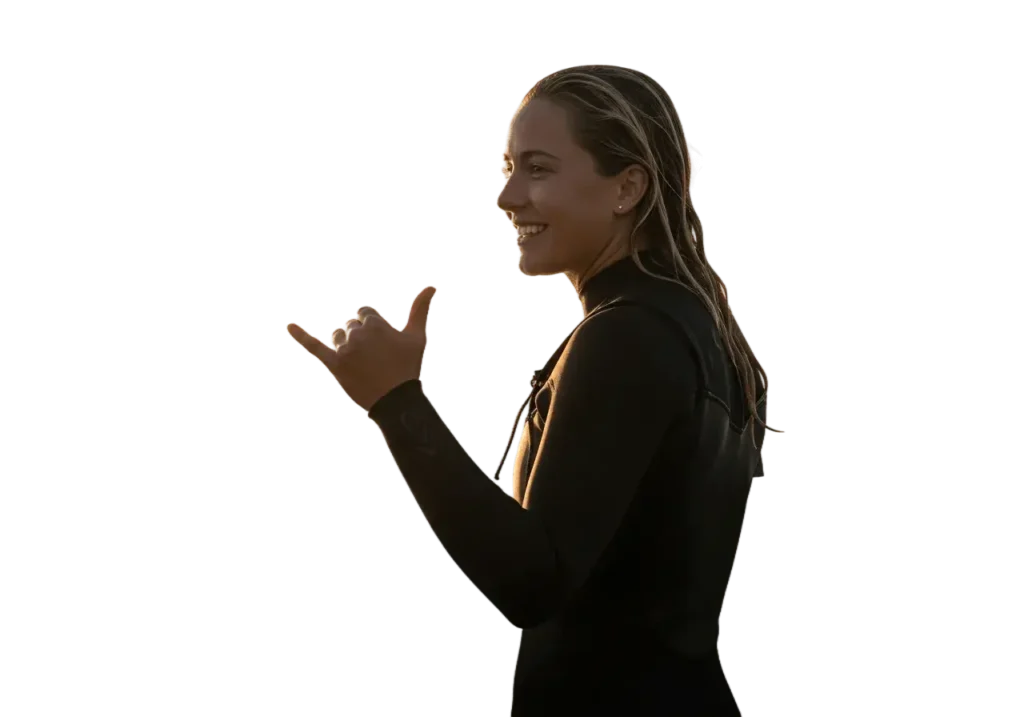
2. Remove the background
The tool analyzes the image, detects the subject, and removes the unwanted background pixels. The output is a clean cutout that can be used without visible borders or streaks of color.
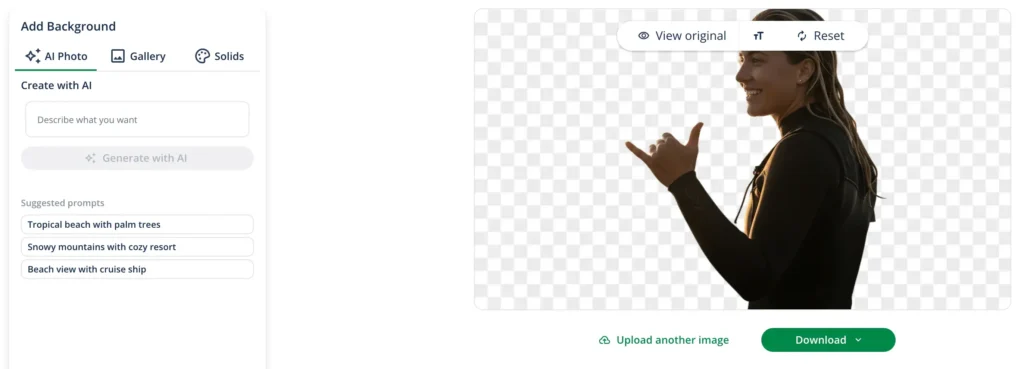
3. Download the file
Export the finished image. It will download as a PNG to preserve transparency. Once downloaded, you can place it in presentations, layer it onto new backgrounds, or upload it directly to websites without any surrounding white box.
Frequently asked questions about how to create and save images with transparent backgrounds
- Is the QuillBot background remover free?
-
Yes, QuillBot’s background remover is free to use.
When you’re logged in, you can use it up to five times a day for free. If you’re a Premium QuillBot user, you can use it as many times as you want.
- How do you make a PNG transparent?
-
To make a PNG transparent, you have to remove the image’s background. PNG is a file type that supports transparency, so remove the background, save the image, and you’ll have a transparent PNG.
The easiest way to remove a PNG’s background is with QuillBot’s free online background remover.
Cite this QuillBot article
We encourage the use of reliable sources in all types of writing. You can copy and paste the citation or click the "Cite this article" button to automatically add it to our free Citation Generator.
QuillBot. (2026, March 17). How to Create images With Transparent Backgrounds. Quillbot. Retrieved March 19, 2026, from https://quillbot.com/blog/image-tools/how-to-create-images-transparent-backgrounds/