You’re scrolling through social media when you come across a golden retriever in sunglasses, sitting behind the wheel of a convertible. It’s cute, obviously fake, and harmless. Now picture the same tech pointed at something you’d actually believe, like a dating-profile headshot or a photo from a protest that never happened. That’s when things get more complicated.
AI image detectors can help by picking up patterns that aren’t always visible to the human eye. Here’s what they look for and how tools like Quillbot’s AI image detector can help you check an image.
Quillbot’s AI Image Detector
Key takeaways
AI image detectors estimate whether an image was generated or altered with AI by analyzing visual and technical clues.
They look for patterns in pixels, textures, lighting, and other image details that may differ from those in human-created images.
A detector’s result is an estimate, not proof. Image quality, editing, compression, and other factors can affect the result.
You can use Quillbot’s AI Image Detector to check an image in a few steps and get a percentage-based confidence score.
Image metadata is information about an image that’s stored as part of the file. Knowing how to view and remove image metadata is an important part of protecting your privacy when sharing photos and other images.
TipViewing image metadata can help you determine whether an image was AI-generated, for example, if the metadata identifies the software or AI tool used to create it.
However, metadata is only one clue. AI image detectors such as Quillbot’s free AI Image Detector also analyze visual patterns associated with AI-generated content, including texture inconsistencies, lighting artifacts, and repetitive details.
When trying to upload or share an image, receiving an error message that the file is too large can be frustrating. Luckily, there are many workarounds, including free online tools like Quillbot’s Compress JPG that can resolve this issue in seconds.
This guide explains how to compress an image in just a few simple steps. You’ll also find tips and tricks for common issues.
AI image editing software means that it’s now possible to quickly make changes to photos and other images that would previously have required advanced editing skills.
If you’re new to AI image editing software, this beginner’s guide will show you how to make common changes, such as removing objects and backgrounds and adjusting lighting, using a tool like Quillbot’s free AI Image Editor.
Key takeaways
AI image editing software lets you make complex changes to images without advanced editing skills.
Many AI image editors work from simple text prompts describing the changes you want to make.
Common AI editing tasks include removing or adding objects, changing backgrounds, adjusting lighting, retouching photos, and extending images.
AI tools can also enhance poor-quality images to make them look sharper and more professional.
To do a reverse image search to identify an object, location, person, or product, look for the “Search by image” camera icon in the app you’re using.
Read on to learn how to reverse image search on different devices using a saved image, a photo from your gallery, or the camera on your phone or tablet.
TipIf you’re wondering if an image has been AI-generated, upload it to Quillbot’s free AI Image Detector, which will analyze it for telltale signs of AI generation.
Product photography is one of the most crucial factors that customers consider when deciding to buy. If product photos look wonky or sketchy, it can undermine trust in your brand and deter sales conversions. Meanwhile, quality images that really allow your products to shine increase the chances someone will hit that “Add to cart” button.
Yet, when you’re up against large companies who have their own creative studios and product photographers at their disposal, the competition can feel high. This guide contains free online tools and plenty of tips to lower the barrier to entry when it comes to creating quality product photography.
TipInstantly level up your product photography by getting rid of visual distractions using Quillbot’s free Background Remover tool.
Key takeaways
Great product photography builds customer trust and can increase sales, even without a professional studio or photographer.
Prepare your product and set with a clean, simple background and diffused lighting to create professional-looking photos.
Use a tripod and consistent composition, angles, and lighting to keep product images clear and cohesive. In addition, consider camera settings like ISO.
Use free AI-assisted photo editing tools to enhance images, remove backgrounds or objects, and polish your final product photography.
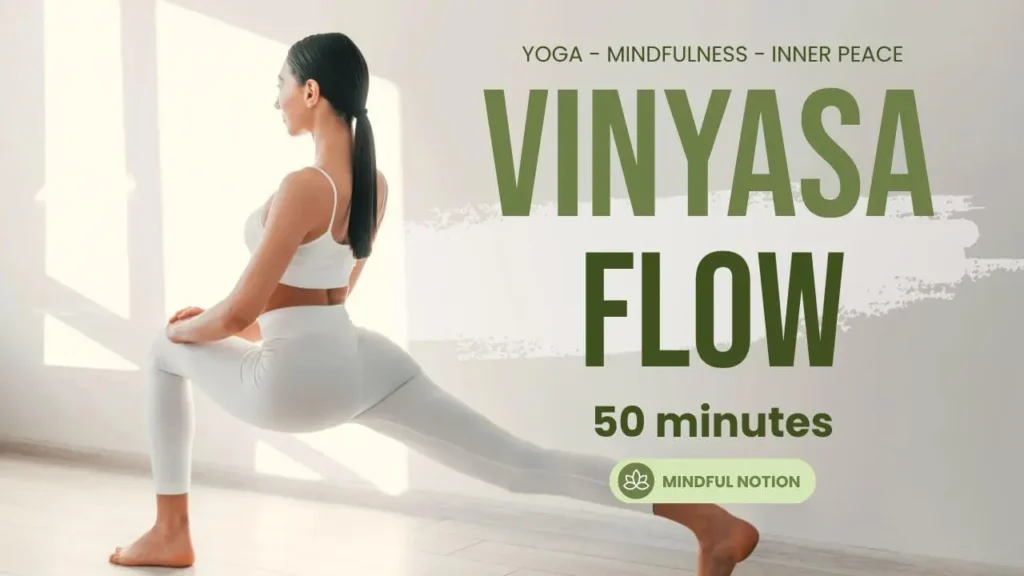
Most NewTubers can relate: You made a video, you know exactly what it’s about, but turning that idea into a professional and eye-catching thumbnail feels like a whole different skillset.
Fortunately, you don’t need to be a graphic designer to make a YouTube thumbnail that drives clicks and stands out. You just need to know the right steps:
Decide what your thumbnail should communicate.
Choose an image and a simple layout.
Add text, color, and branding.
Check your thumbnail at a small size.
You can create a thumbnail from scratch, customize a ready-made design, or use AI to generate and edit. This guide explains how to make a thumbnail for YouTube, with practical tips for each step and tools to help you create a professional design.
YouTube Shorts are a great way to extend your reach to new audiences. You can repurpose snippets of longer form content for more visibility, or focus all your efforts on creating videos in this short-form format.
Either way, the key to YouTube Shorts success is understanding the formatting, dimensions, and purpose of this type of content. In this guide, you’ll learn exactly what you need to know to create shorts that fit the bill. You’ll also get tips on how to take yours to the next level.
Quillbot’s customizable YouTube Templates are easy to use and can help you save time so you can focus on creativity and optimization.
Key takeaways
YouTube Shorts work best in a vertical 9:16 format at 1080 × 1920 pixels, with videos up to 3 minutes long and MP4 or MOV formats supported.
For better-performing Shorts, hook viewers within the first few seconds, keep important text, faces, and logos centered, and use concise titles.
Discover additional tips and tools for creating high performing YouTube content.
In 2026, the recommended YouTube thumbnail size is 3840 x 2160 pixels. You can still use lower resolutions with a 16:9 aspectratio, like 1280 x 720 pixels, but your image probably won’t look as good after it’s been automatically compressed and resized for display.
TipUse Quillbot’s free YouTube Thumbnail Templates tool to design your custom YouTube thumbnails. When exporting the finished design, select “3840 x 2160” in the file type options menu.
Choose JPG if the main element of your thumbnail is a photo or a video still, or if the quality of gradients or shadows is important. Choose PNG for sharp logos, illustrations, text, or icons.
The YouTube video thumbnails you can upload to replace the automatically generated versions are called “custom thumbnails.” Make them as large as possible in a 16:9format, keeping the file size under 50 MB (2 MB when uploading on a mobile). You can only use custom thumbnails for standard videos, not for YouTube Shorts.
The recommended size for a YouTube thumbnail for a podcast in 2026 is 1280 x 1280 pixels. Podcast thumbnails should be in a 1:1 aspect ratio.
YouTube thumbnail dimensions
Recommended size
3840 x 2160
Minimum width
640
Maximum file size
50 MB
2 MB when uploading on a mobile
Aspect ratio
16:9
Example 16:9 dimensions
3840 x 2160 (recommended)
2560 x 1440
1920 x 1080
1280 x 720
640 x 360 (minimum)
Accepted formats
JPEG, PNG, or GIF
YouTube podcast thumbnail size
Recommended size 1280 x 1280
1:1 aspect ratio
50 MB maximum size
10 MB maximum size when uploading on mobile
YouTube Shorts thumbnail size
You can’t upload custom thumbnails for YouTube Shorts
Whether you’re a casual user or a professional photographer, AI-powered photo editing can take your images to the next level. Yet, not all AI photo editors are created equally—and most people don’t have the time to test a bunch of different tools.
This guide pulls 10 of the best AI photo editors that offer free web versions so you can get straight to work without downloading apps or giving out your credit card information.
Key takeaways
AI photo editors make it easy to remove backgrounds, erase unwanted objects, enhance image quality, and create professional-looking edits—no design experience required.
This guide covers 10 of the best free online AI photo editors, highlighting options for different needs and experience levels, from simple prompt-based editing to more advanced creative workflows.
Whether you’re looking for quick automated enhancements, flexible browser-based editing tools, or AI-assisted content creation, these platforms let you get started without downloading software or entering payment details.