Complete Guide to Image Compression | Free Tools & Tips
When trying to upload or share an image, receiving an error message that the file is too large can be frustrating. Luckily, there are many workarounds, including free online tools like Quillbot’s Compress JPG that can resolve this issue in seconds.
This guide explains how to compress an image in just a few simple steps. You’ll also find tips and tricks for common issues.
Key takeaways
- Compress images in seconds: Upload, choose your compression level, and download a smaller file using QuillBot’s free Compress JPG tool.
- Save space without sacrificing quality: Image compression can reduce file sizes by up to 80%, making images faster to upload, share, and load.
- Choose the right compression level: Use lower compression for images with fine details, and consider PNG for graphics with text, sharp lines, or bold colors.
- For the best results, start with the original: Resize oversized images before compressing, and avoid repeatedly compressing the same file to minimize quality loss.
How to compress an image
Compress JPG is a tool that enables you to instantly resize your image files while maintaining sharp quality. Just follow these simple steps:
- Upload your images.
- Compress.
- Download your file.
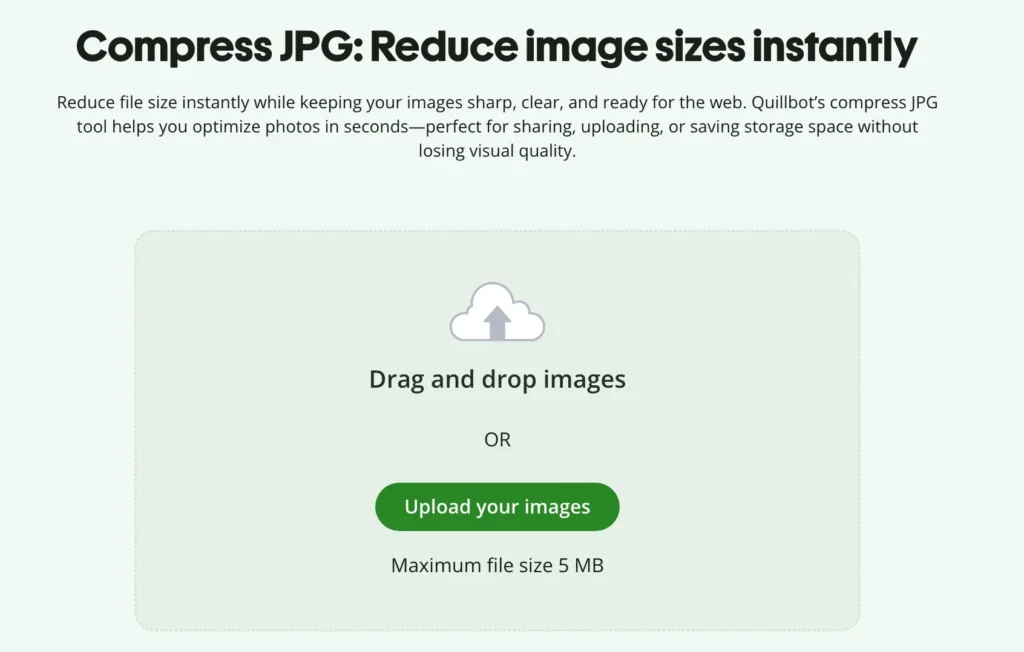
1. Upload your images.
Locate the image that you want to compress. Open Quillbot’s Compress JPG tool in your browser, click “Upload Files.” Select your image from the menu or drag and drop.
2. Compress.
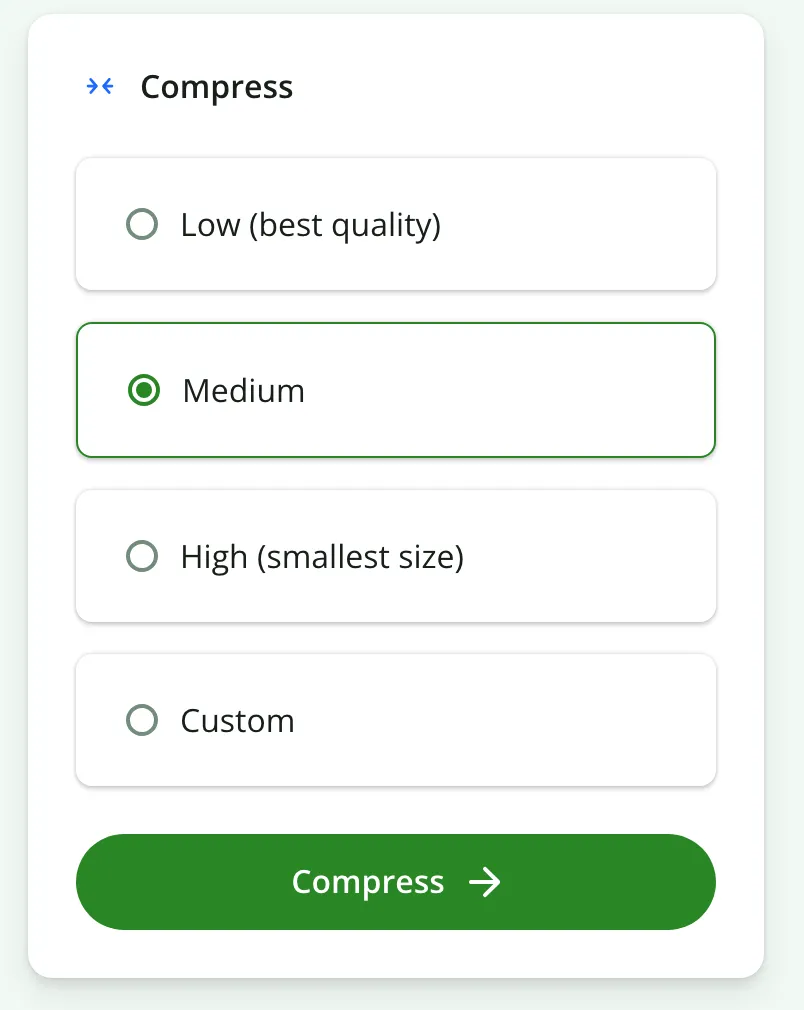
Select your desired file size by choosing between low, medium, and high degrees of compression. You can also customize by choosing the precise percentage you want to compress your image.
3.Download your file.
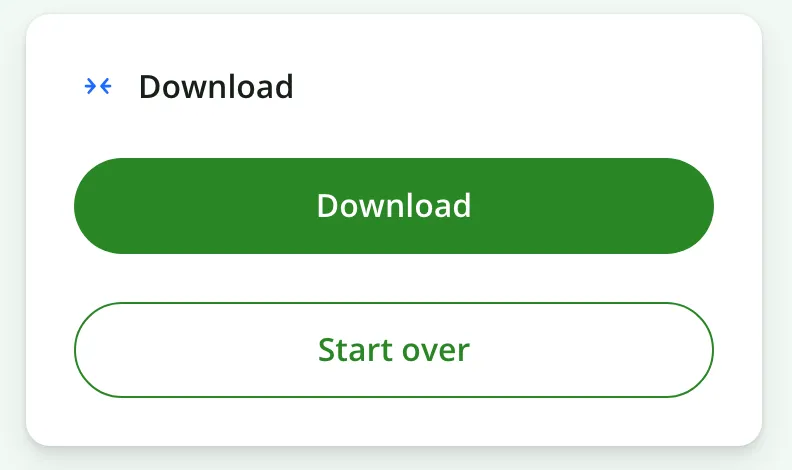
Once you’ve compressed your image, simply click “Download” to save your file.
Why compress an image?
Image compression is useful for anyone looking to optimize their image files for faster loading, easier sharing, and smoother performance across apps and websites.
Here are some benefits of using tools like Compress JPG:
- No visible quality loss: Ensure that your image quality stays sharp even as you resize it.
- No app installation required: Upload and edit directly in your browser, instantly and free of charge.
- Reduce files by up to 80%: Shrink images to a fraction of their size to save space.
- Customize compression levels: Adjust the size of your image to the exact specifications you need.
Image compress: Helpful tips
With the right tools, image compression is simple, but a few small issues can sometimes come up. Here’s how to solve them.
Blurriness and loss of fine detail
Keep in mind that the higher the compression level the higher the likelihood that some image data will be discarded.
Pixelated text and lines
Compressing an image can struggle with sharp contrast, text graphics, and bold colors. As a result the compressed version might be pixelated in these areas.
File size too large
Many image compression tools have a max file size. Quillbot’s Compress JPG, for example, allows a maximum of 5MB.
Quality depreciation from multiple saves
When you try to compress the same image multiple times, the image quality may suffer.
Frequently asked questions about compress image
- How can I compress image sizes online?
-
If you search for image compression tools online, you’re bound to find different options to suit your needs. For example, Quillbot’s Compress JPG tool enables you to compress image files in seconds for free in your browser without needing to sign up.
It’s as easy as following these three steps:
- Upload your image.
- Compress the image to your desired specifications.
- Download your compressed image file.
- What is the difference between JPEG and PNG?
-
JPEG and PNG are both raster-based image formats, meaning they consist of pixels rather than resizable shapes or vectors. The main difference between these two formats is how they handle compression—the process that reduces file size.
JPEGs reduce file size by removing some image data. This is OK for photographs or web images where fine detail isn’t essential, but it can make text, graphics, or sharp edges blurred or pixelated.
PNGs use lossless compression, so no image data is lost when the file is saved. File sizes are larger than JPEGs, but PNG is a better format for logos, icons, or graphics with text.
PNGs also support transparent backgrounds, making them useful when you need to place an image on top of another background.
Use Quillbot’s free online JPEG converter if you need to convert a JPEG to a PNG.
Other interesting articles
If you want to know more about colors, letters, or the meaning of emojis, make sure to check out some of our other articles with explanations and examples.